Let's be honest - tables in HTML and React, too, are a handful especially if we want to add functionality to them. To make our lives as developers a bit easier, TanStack has come up with a neat headless table solution as well as a query library called react-query that we're going to use in this tutorial. We're going to build a base API with axios and we're going to be fetching random beers from an API for this particular use-case. Then we will implement reusable table components and hooks for react-query that we're going to be hooking up to the base API and populate the table. The table will include basic sorting.


Intended audience
This content is targeted for people that are already productive with React & TypeScript. It involves concepts that might be a difficult to grasp for a beginner. This is by no means to say that it would not be helpful for a beginner, but in order to get the best out of it, I strongly recommend to learn the basics first.
Installation
Create a vite app with a React & TypeScript template
Move into the directory
Install everything so that vite can pick up
Add needed dependencies
Run the dev server:
You should see this running on your localhost port:

Building the core
Now that we have the development environment up and running we can start implementing the actual core for our table and query components.
We shall create a folder called components in the src folder. We can also remove all the boilerplate in App.tsx and App.css.
For convenience sake I left the main css file - index.css there as it provides some nice defaults.
Modify App.tsx by deleting the highlighted lines.
All we should have left by now is:
Base API
Let's go ahead and add a base API for this project. Let's add a folder called api in your src folder
and inside the api folder add a file named baseApi.ts.
Copy this piece of code into your baseApi.ts file. If you want to learn more what's happening in this code you can find it in my snippets.
Why axios?
Axios comes in handy with many useful features such as immediate response-to-JSON, solid error messages, ability to cancel requests, intercept responses and requests, and on top of that it's open source and uses the widely known XMLHttpRequest under the hood.
Now with that out the way we can create a file called beerApi.ts in the src/api folder. Here we will include all the relevant calls for the /beers endpoint of the API.
The file will look the following:
Let's test that everything works on the network layer!
In our src/App.tsx file, let's create a simple button logging the response to confirm that everything works.
You should see this in your console:
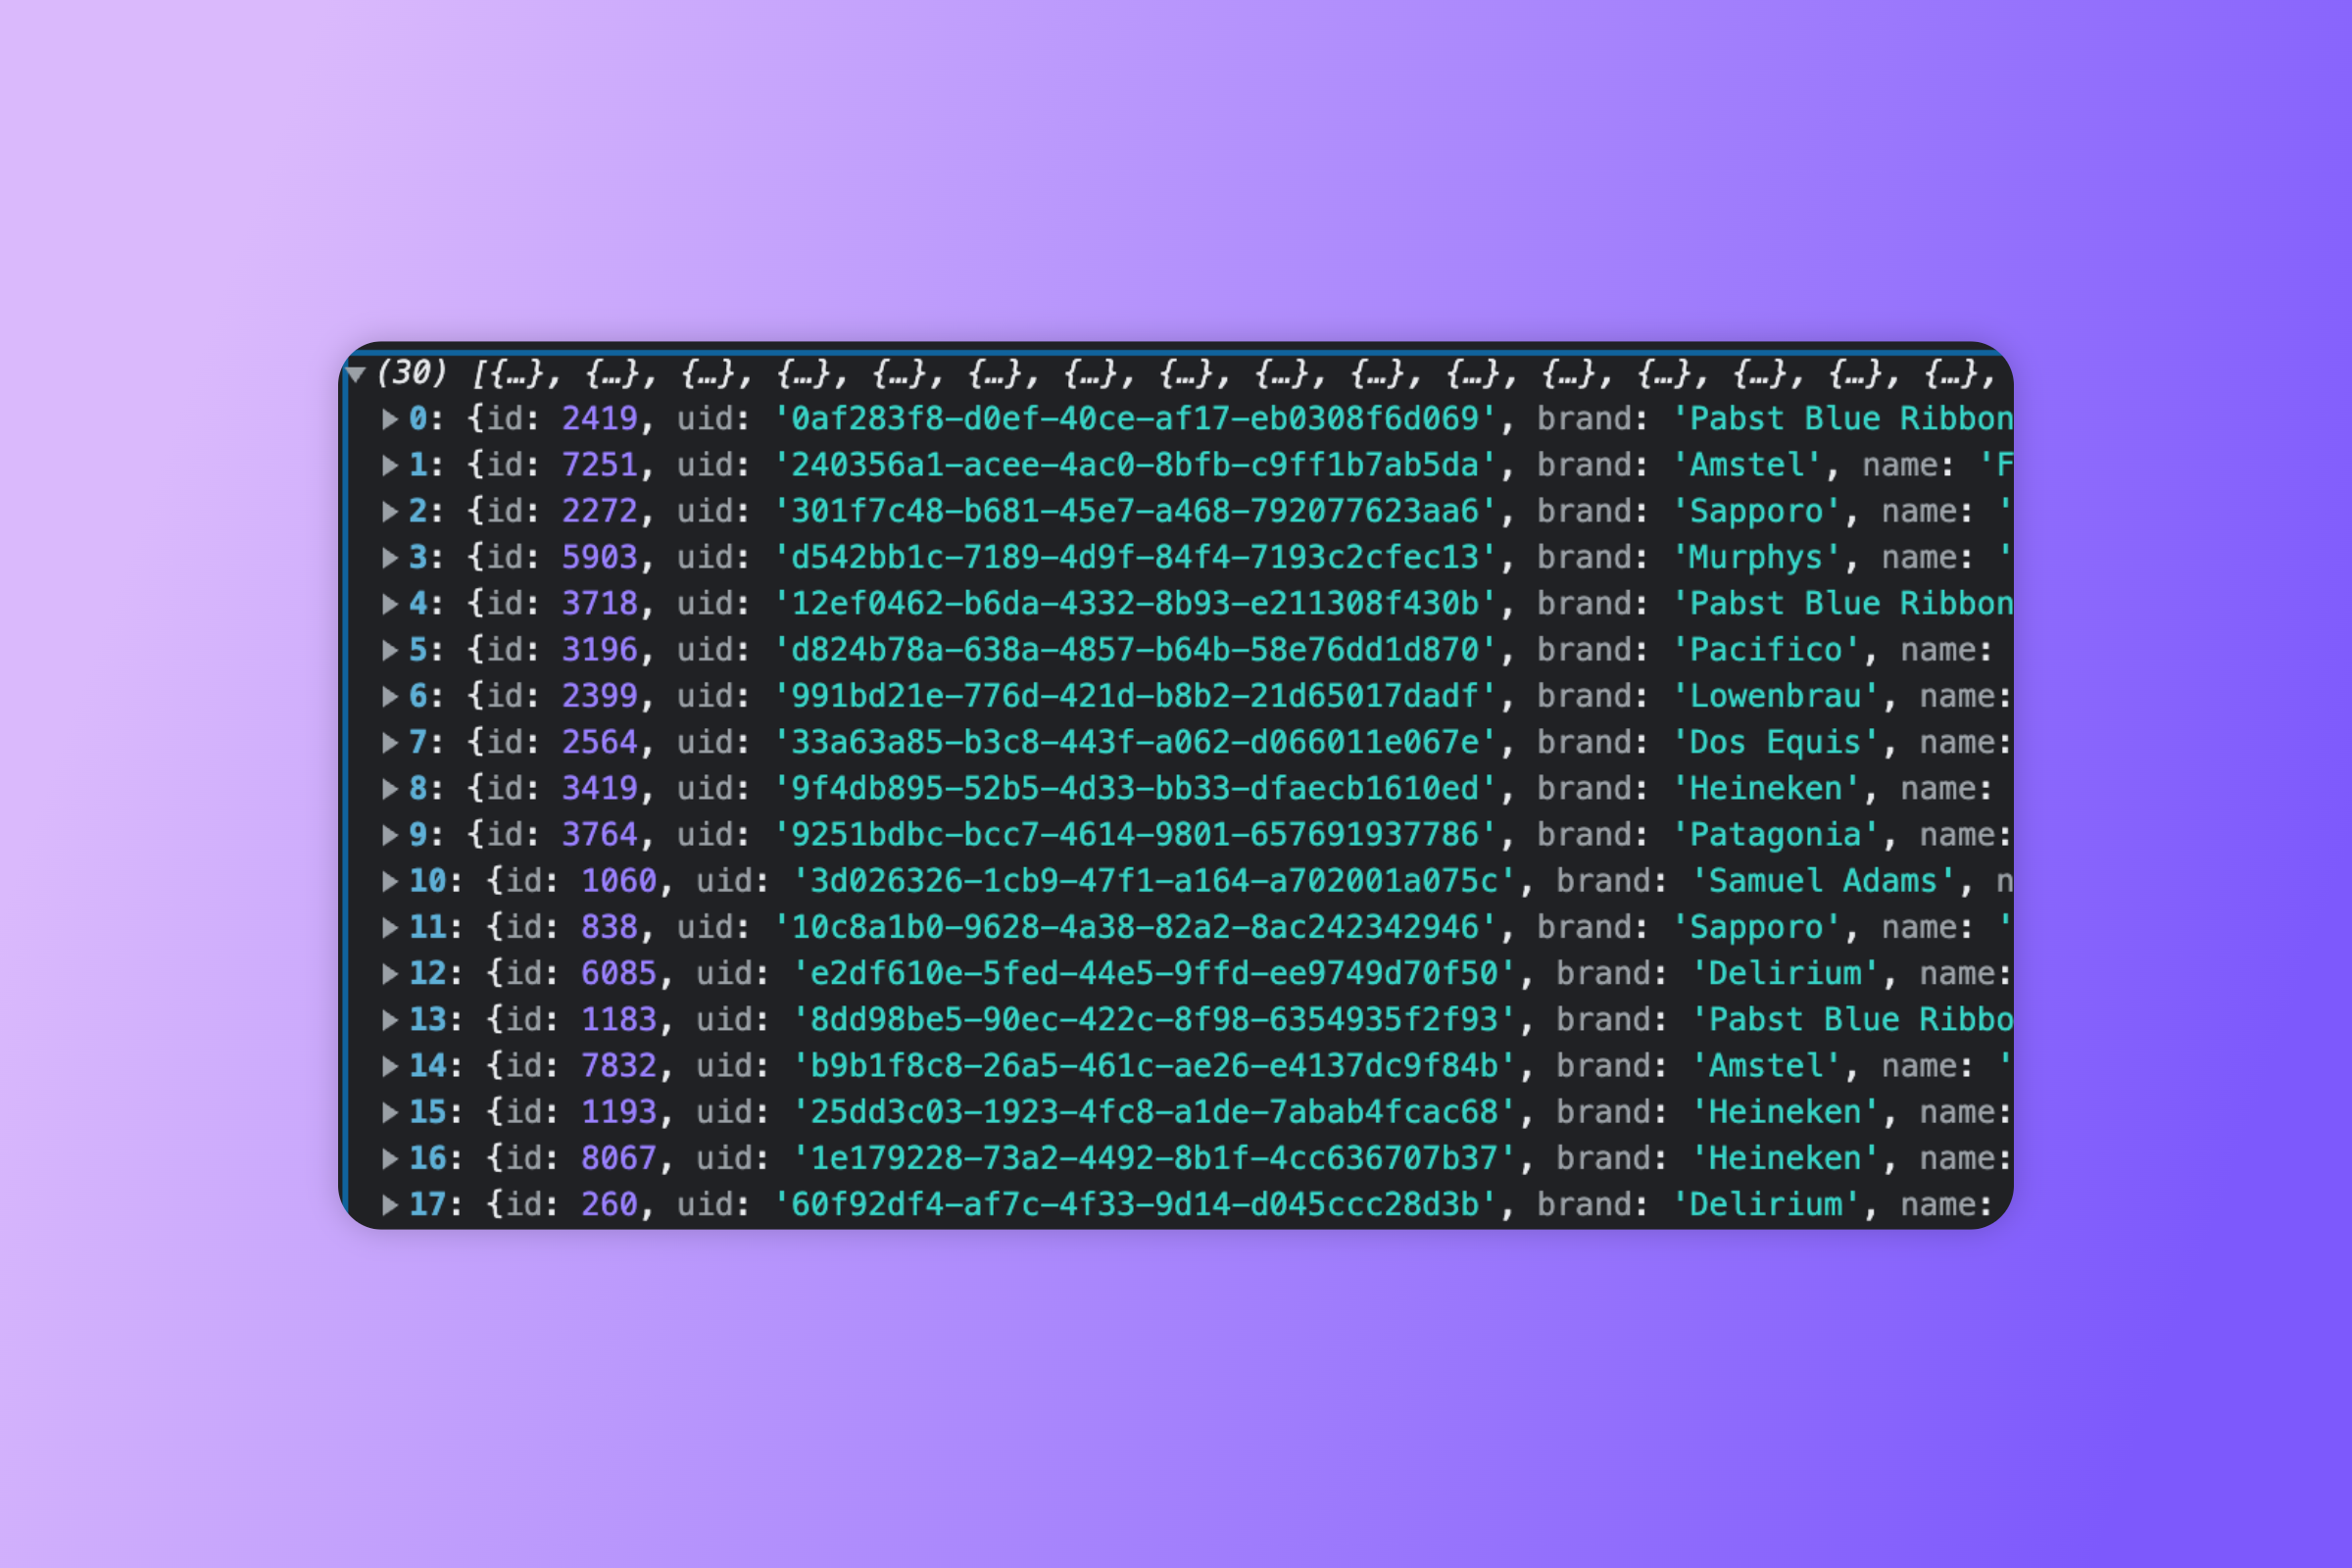
Wohoo! It's working as expected. Give yourself a tap on the back.
Hooking up our base API with react-query
In our src/App.tsx file, we need to make a couple changes. First, let's get rid of all the code that we used to test the API. Delete the highlighted
parts.
Then, we need to add a QueryClientProvider that will wrap our entire app so that we can use react-query.
Now that the app is wrapped in the QueryClient, in our src folder, let's create a folder called hooks. Then in the hooks folder, add a file called useQuery.tsx.
What I like to do is, create this one generic useQuery.tsx file and add all queries there.
I usually do the same for mutations. They do not really take up that
much vertical space since the API logic is separated so in my opinion, it's clear to have them in one file.
Creating our query
Info
Here, on this line we use the "beers" as a query key so that react-query knows where in the cache should it look stuff up. You can read more about query keys here: react-query-keys.
Now we have our query that we will use to populate the data! Simple and effective, right?
Building the table components
For the sake of clarity and reusability I have decided to separate the table in 3 different components: TableQuery, TableInstance, TableUI.
TableQuery will be taking the responsibility of initializing and handling the actual query and TableInstance will be setting up the defaults needed for building our TableUI component.
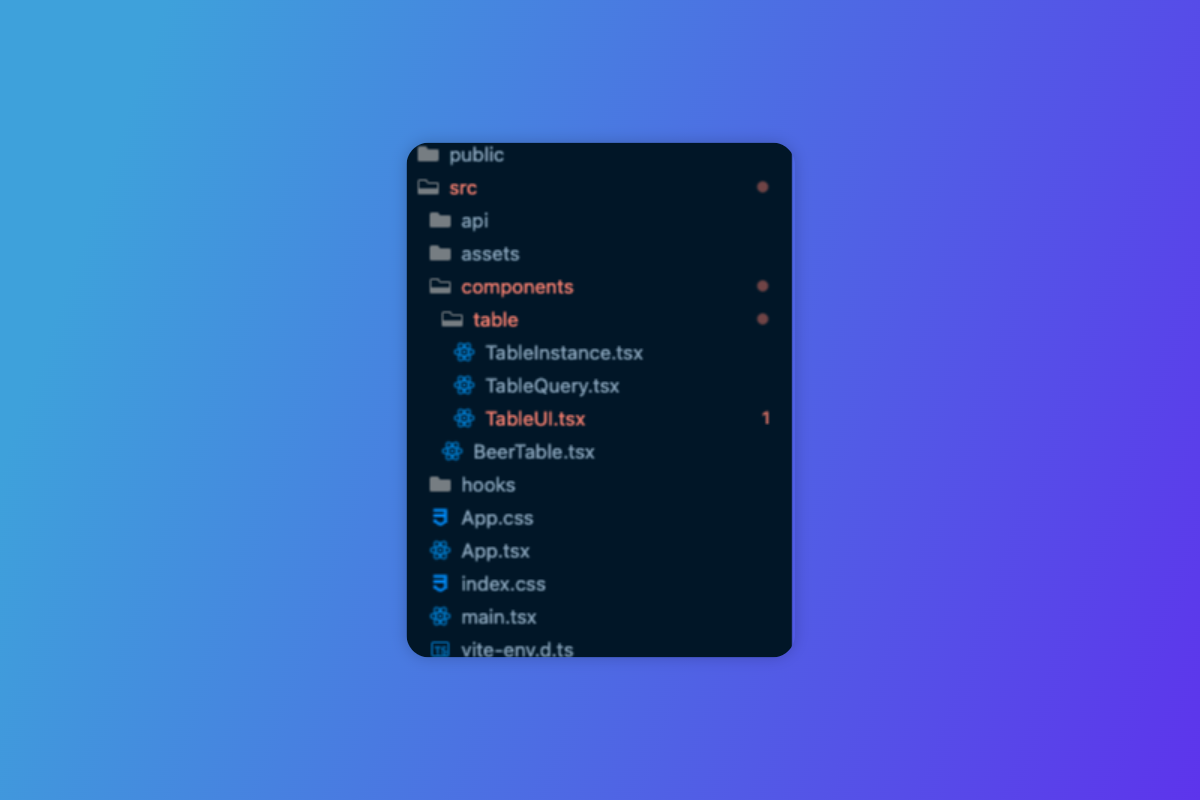
Let's add a folder called table in our src/components and add 3 files in there, named TableQuery.tsx, TableInstance.tsx, and TableUI.tsx.
Our folder structure should be as follows:
TableQuery
Let's start with TableQuery.
Here, the TableQuery will take care of getting the data from the API in and handling error and loading states, and then delegating to TableInstance with the fresh data given that the response is indeed successful.
Then, the TableInstance does more. It takes in the data and creates the table columns and provides other defaults such as sorting so that the UI will be ready to be implemented.
TableInstance
First, we need to define our columns. We can create a separate file called column.tsx where we export them from.
Note!
Note that this is a very simple table solution. For complex solutions, tanstack's table provides a lot of other configuration options for columns. For more column configuration see: tanstack-table-columns
Now, going into our TableInstance component:
Then, the function useReactTable will take in these properties that we defined and return an instance that we will pass onto the UI. The UI component
will look like the following:
TableUI
The library handles rendering the UI with all of the props that were passed into useReactTable function. Neat, right?
BeerTable
Now we can actually start using the table in our BeerTable.tsx component. Since a lot of stuff has been split, it's going to be just a few lines
of code to add a table with whatever data comes from the API. Add a file called BeerTable.tsx in src/components/table folder.
And then just render it in the App.tsx.
Conclusion
There we go! We put the pieces together. Our table components will take care of communicating with eachother. The outcome is pretty neat, right? :)
Now we have a fully sortable table with all the defined columns:
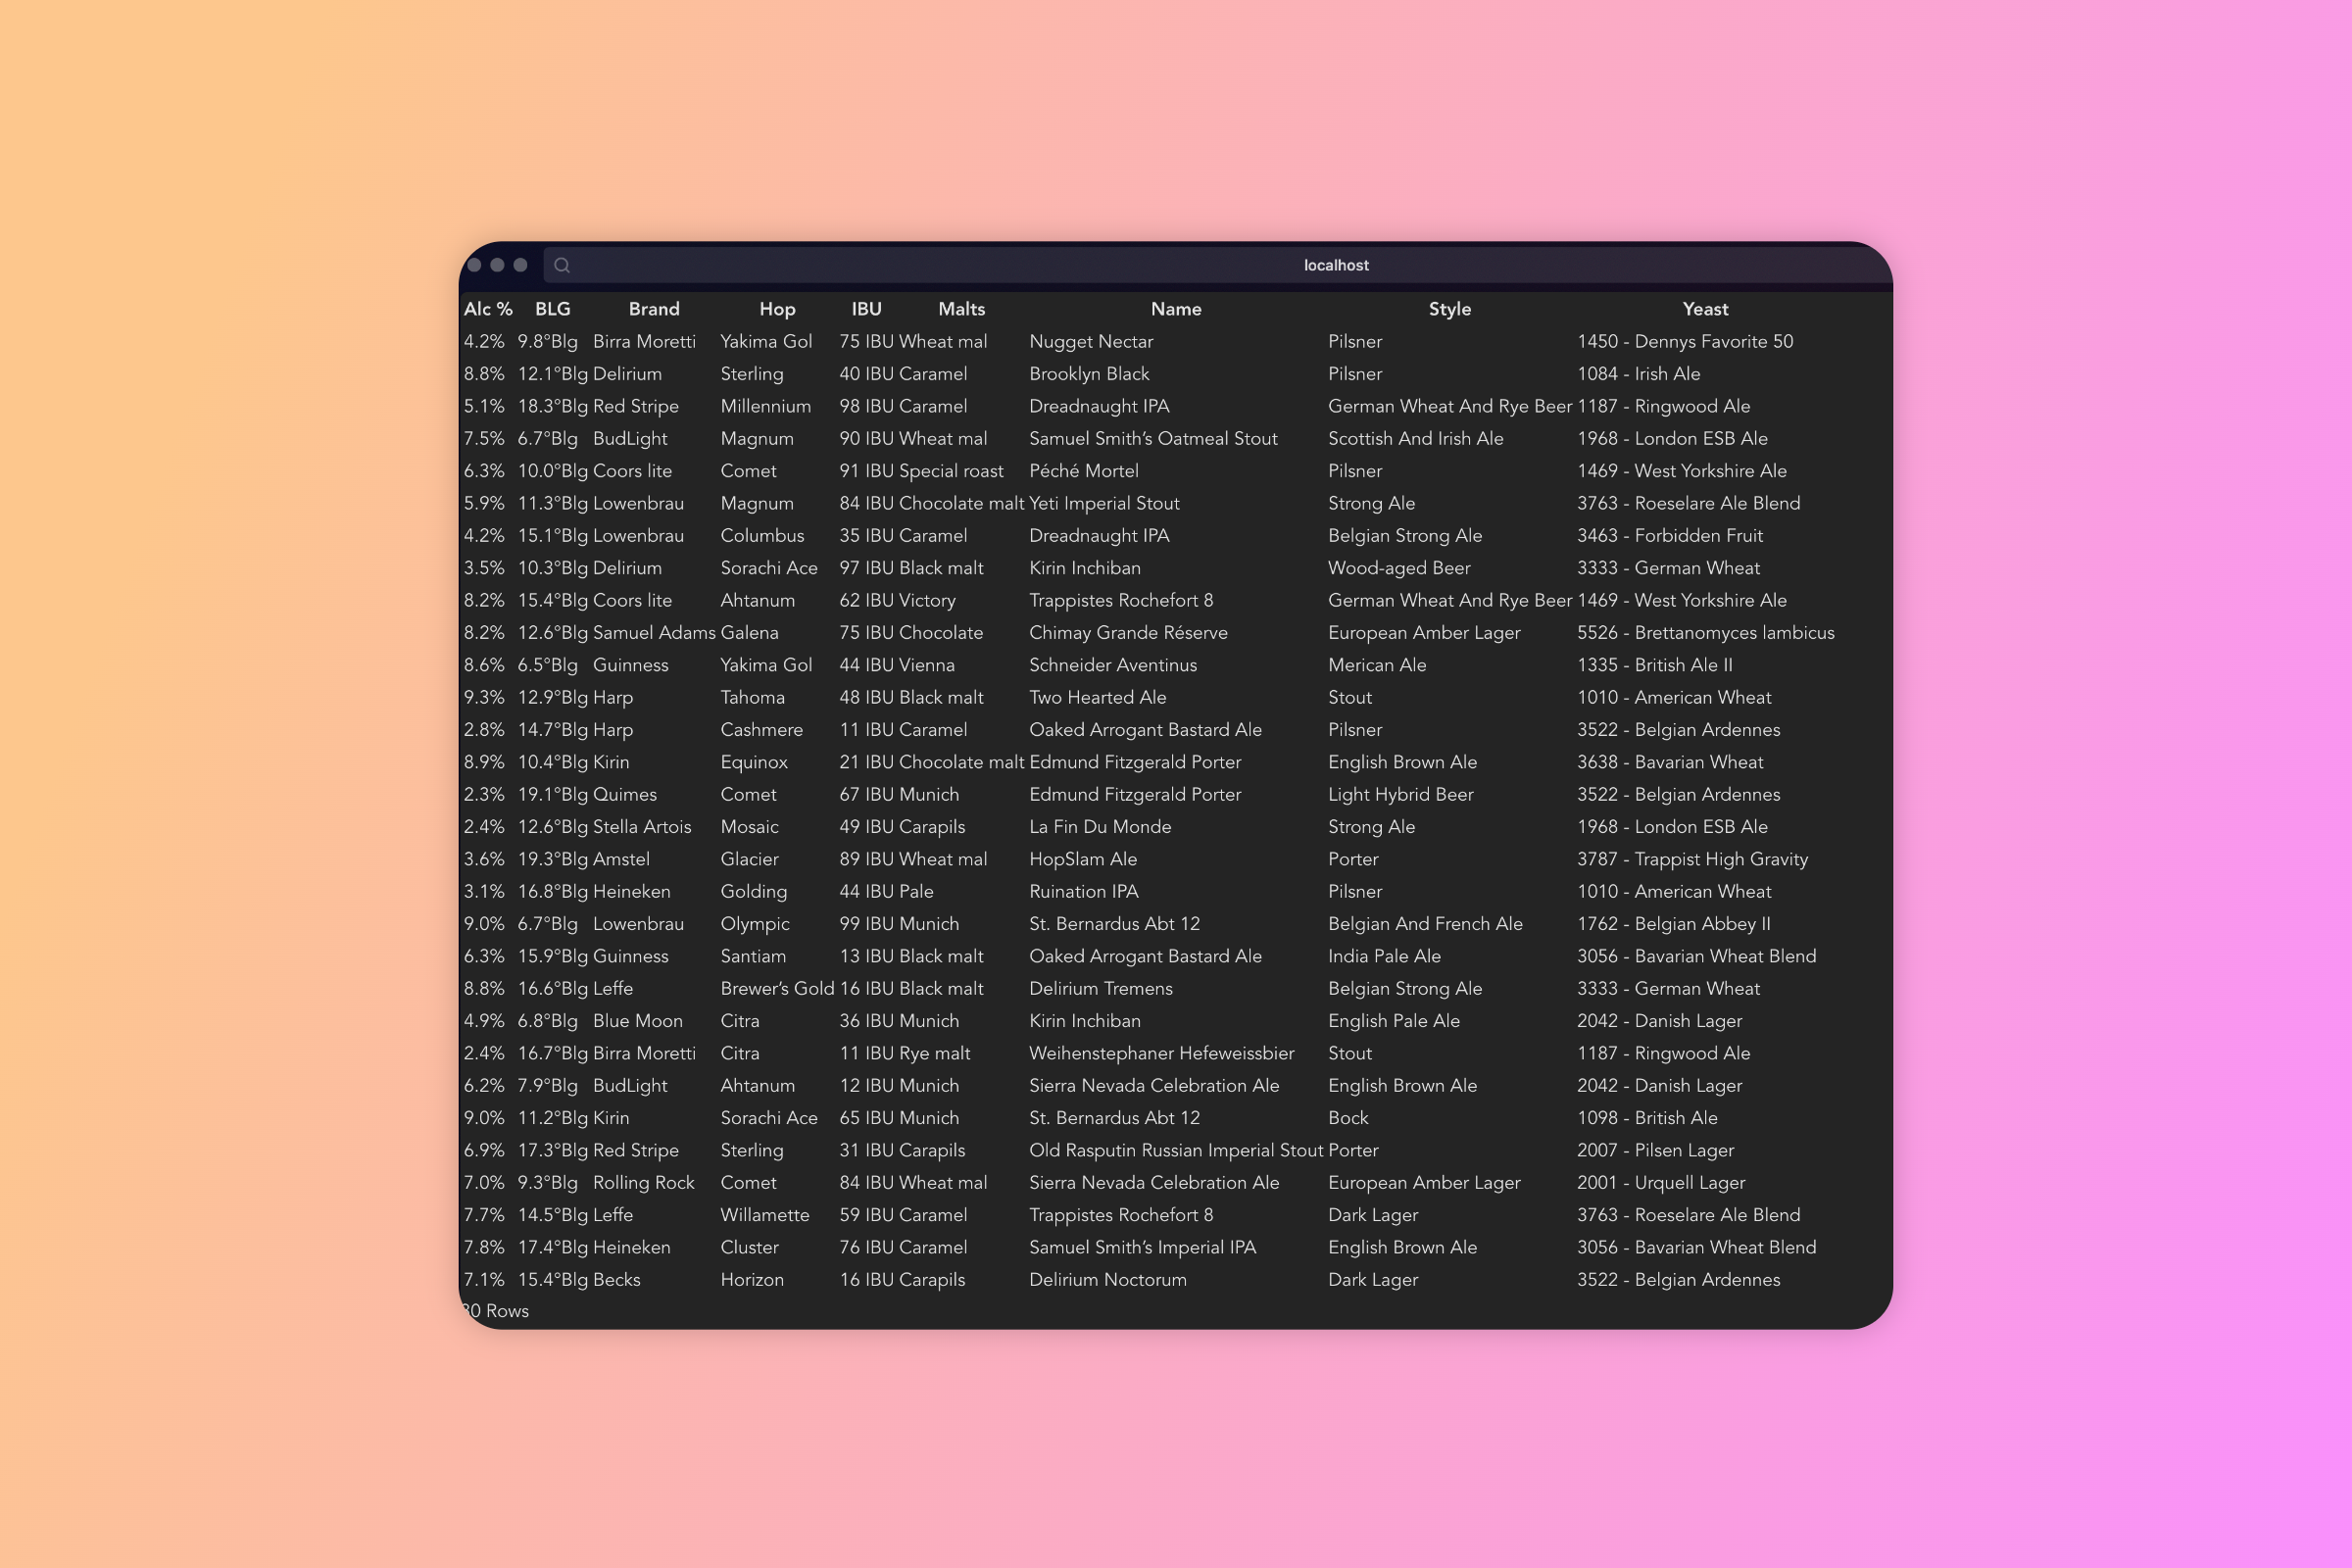
After reading this article, I hope working with tables is even slightly more pleasant. This is just a really simple table and it could be even further extended with many features TanStack Table provides such as pagination and filtering.